Graveyard Orbit Colored Ore, Cores & Matching Weapons
Match colors to weapon trees, keep stripping plain ore, and plan sealed-core breaches without wasting haul.
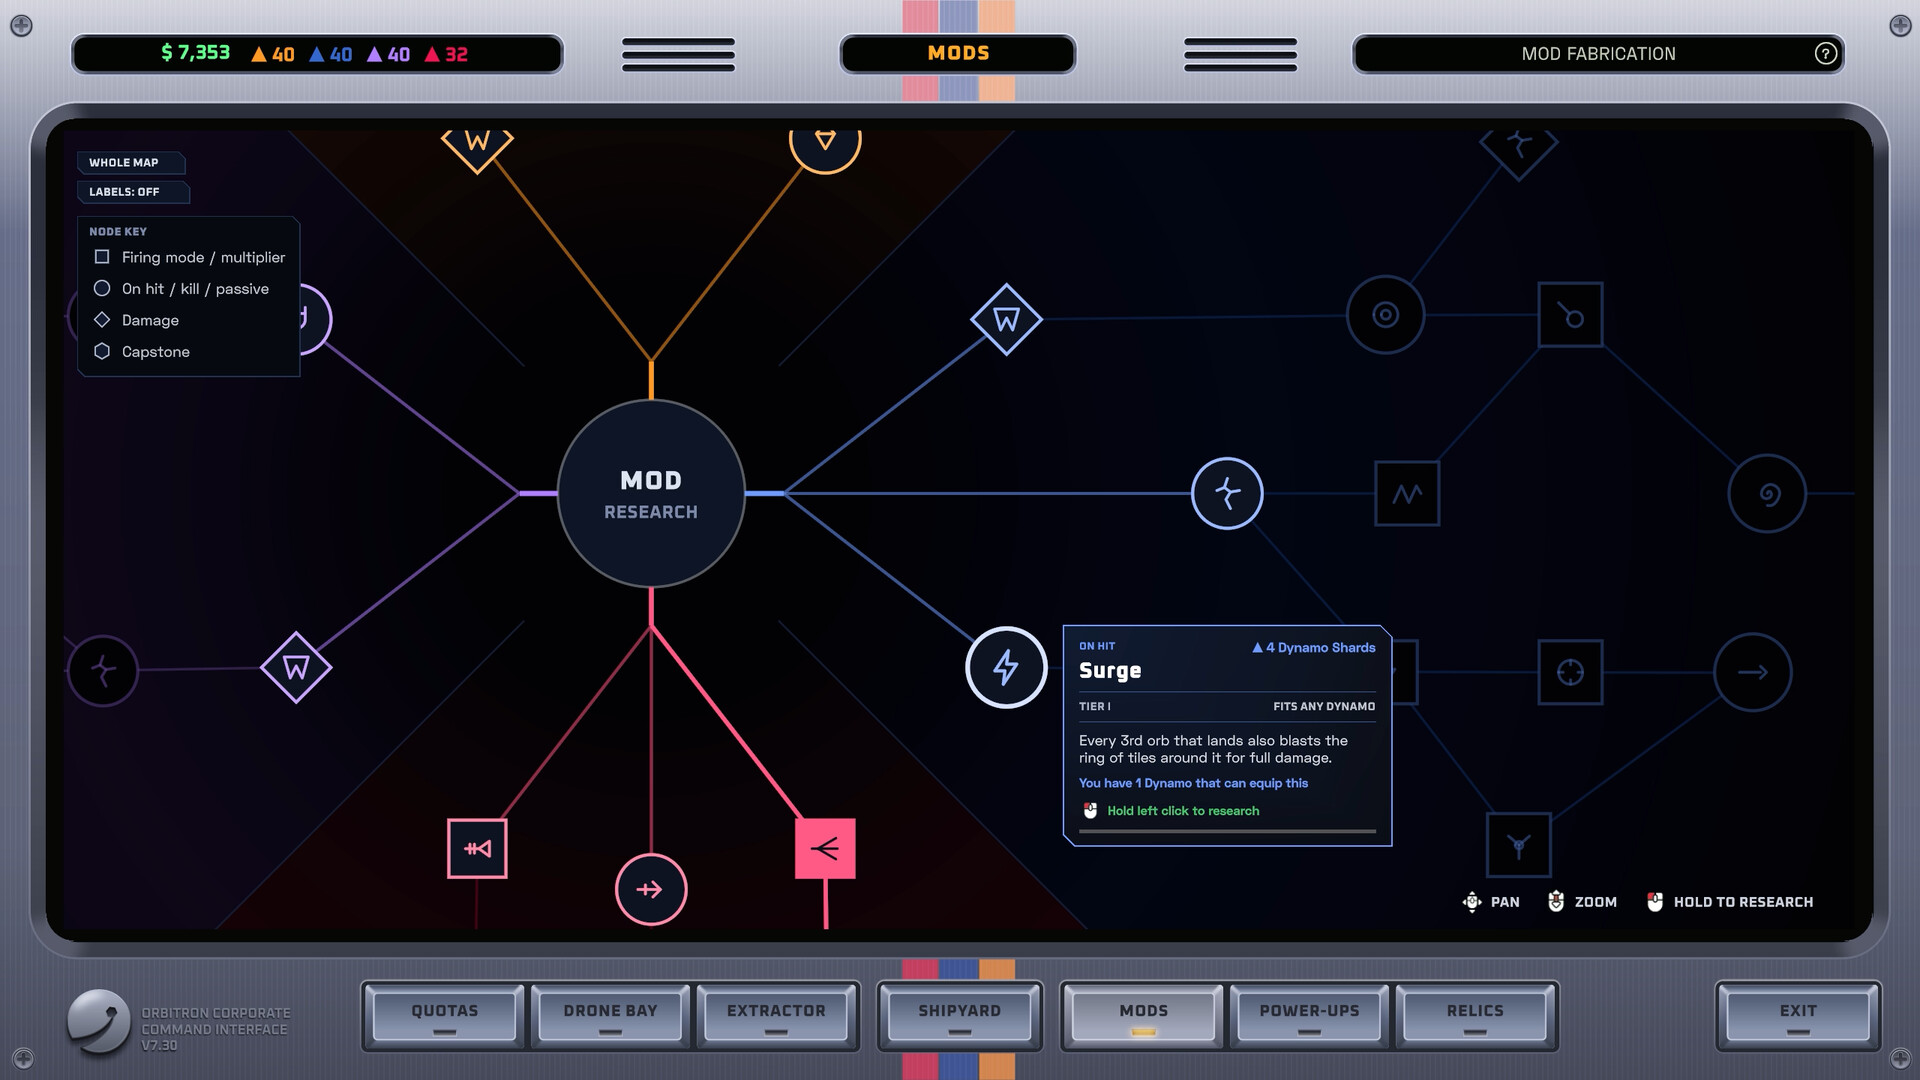
Colored ore is how Graveyard Orbit rewards deliberate weapon choices. Match the right tree to the right hue and your Extractor totals climb; ignore the rule and you still break tiles — you just leave money on the wreck. This guide covers plain versus colored ore, practical pairings such as gold with lasers and blue with dynamo-oriented tools, sealed cores, structures that fight back, and the boosts that make matching feel unfair (in a good way). Pair it with Laser Wall Build, Ship Building, the Weapons Tier List Hub, Relics and Mods, and the Extractor Guide.
Plain ore versus colored ore
Plain ore yields to any weapon tree. It is the volume filler of every contract: strip it steadily so cargo never idles while you hunt a perfect color match. Colored ore pays better when you hit it with the matching department — Lasers, Cannons, Pulse, Drones, Contact, or Gravitron depending on the band in front of you. Matching is a multiplier on good habits, not a hard gate. If you only have lasers unlocked, keep clearing plain tiles and grab what gold you can; unlock the next department when you keep leaving valuable colors behind.
Mental model for a pass:
- Approach a face with overlapping arcs.
- Delete plain hull and ore to open lanes.
- Swap focus to matching weapons when a colored band appears.
- Fill cargo on purpose, cash through the Extractor, repeat.
Never orbit empty waiting for the “right” tile. Throughput beats perfectionism.
Example pairings from gameplay
Exact ore charts can shift with patches, but launch-era play teaches clear lessons:
- Gold bands love lasers — one reason early laser walls feel so strong on readable exteriors.
- Blue / dynamo-leaning bands reward the tools and trees built around that color fantasy; bring the matching mounts instead of forcing every tile through a laser-only grid.
- Other hues map onto the remaining departments as you unlock them. Use the wreck as a teacher: if a color refuses to pay, you are on the wrong tree.
When research mods change how a tree interacts with ore, retest on a medium wreck before an Overtime star run. Mods amplify matching; they do not erase it.
Why matching changes your ship plan
If gold is common, fund lasers and the power to run them. If blue keeps dominating your contracts, unlock and place the matching department instead of stacking a fifth laser that cannot collect the bonus. Hybrid grids exist for mixed structures: a laser primary face plus a secondary tree aimed at the colors your wall keeps missing. Department discipline lives in Ship Building; living rankings live on the Weapons Tier List Hub.
Belts matter here too. Colored ore is only “better” if you process it. When mining outpaces factory lines, upgrade conveyors before another exotic hardpoint — see the Extractor Guide.
Sealed cores
Layered megastructures hide sealed cores behind shells, hazard pockets, and awkward geometry. Cores are where careless builds fail: brownouts, empty holds, or the wrong tree for the ore packed around the heart. Prep before you breach:
- Full cargo plan — know when you will leave to cash.
- Power headroom for the hungriest simultaneous mounts.
- Hull for chip damage on the approach.
- Matching weapons for the colors you saw in the outer layers (cores often rhyme with the shell).
- A backup angle if the first face is a death funnel.
Strip the outer crust methodically. Clearing side lanes before the final breach gives contact and short-range tools a safe hug path, and gives lasers a second hemisphere if the first wall cannot see everything.
Structures that shoot back
Some wrecks and alien shells are not passive piñatas. Defensive layers and hazard tiles punish greedy parking. Treat them as shipbuilding feedback:
- Add hull when you take repeated chip damage.
- Reposition instead of tanking every volley with a glass laser barge.
- Use gravitron or coverage tools when a static standoff is unsafe.
- Do not empty your cargo into a kill zone — leave, cash, return with a better angle.
SUNNY’s cheerful Orbitron pitch does not make the metal friendly. Calm repositioning clears more contracts than heroic last stands.
Boosts, relics, and research
Temporary boosts and long-term relics / mods can exaggerate matching rewards or change how quickly you delete a color band. Slot powers that reinforce the trees you actually mount. A relic that loves sustained beams pairs with a laser economy; a relic that helps automation may elevate drones on sprawling shells. Park relics you cannot power yet — details in Relics and Mods.
If a boost makes you clear twice as fast, double-check cargo and belts immediately. Speed without holds is just more trips.
Overtime and large structures
Toward the top of the fantasy — structures climbing from thousands of tiles toward roughly 250,000 — color bands stretch across enormous faces. Laser walls still work on readable exteriors; drones and gravitron support matter more when you cannot see everything from one parking spot. Star attempts in Overtime Mode punish leaving expensive colored ore behind, so plan routes that finish bands instead of skimming highlights.
Practical checklist per contract
- Note which colors appeared on the last wreck.
- Confirm matching mounts are placed with real arcs.
- Keep plain-ore throughput high so cargo stays busy.
- Breach sealed cores only after lanes and power are ready.
- Respect structures that shoot back — hull and angles before ego.
- Cash full holds; never overflow while staring at a shiny band.
- Rebuild departments when the same color keeps escaping your grid.
Sibling guides
- Laser Wall Build — power, quad-beam faces, and when lasers still win.
- Getting Started — first-hour loop and Extractor basics.
- Ship Building — grid, weight, and department unlocks.
- Relics and Mods — research that rewrites weapon behavior.
- Demo vs Full Game — what the demo teaches about ore before you buy.
Colored ore is the quiet skill check of Graveyard Orbit: same wreck, same guns, wildly different payouts once you stop treating every tile as identical and start flying a matching plan.
Frequently Asked Questions
Quick answers to common Graveyard Orbit questions.
Do I have to match colored ore to break it?
No. Any tree can break tiles, including colored ore. Matching improves value; plain ore is always a safe throughput filler.
What are example color pairings?
Gold commonly rewards lasers, and blue/dynamo-style bands reward their matching tools. Use in-run feedback when a color underpays on the wrong tree.
What is a sealed core?
A protected heart behind layered shells and hazards. Breach with power, hull, cargo plans, and matching weapons ready—not as a blind DPS race.
Structures are shooting at me — what now?
Add hull, change angle, and avoid parking a glass build in a kill zone. Coverage or gravitron tools help when a static laser standoff is unsafe.
Should I ignore plain ore to chase colors?
No. Keep stripping plain ore so cargo and belts stay busy, then focus matching weapons when colored bands appear.