Graveyard Orbit Extractor & Ore Value Guide
Cash every hold intelligently — colored ore, plain ore, and belts that keep up with your guns.
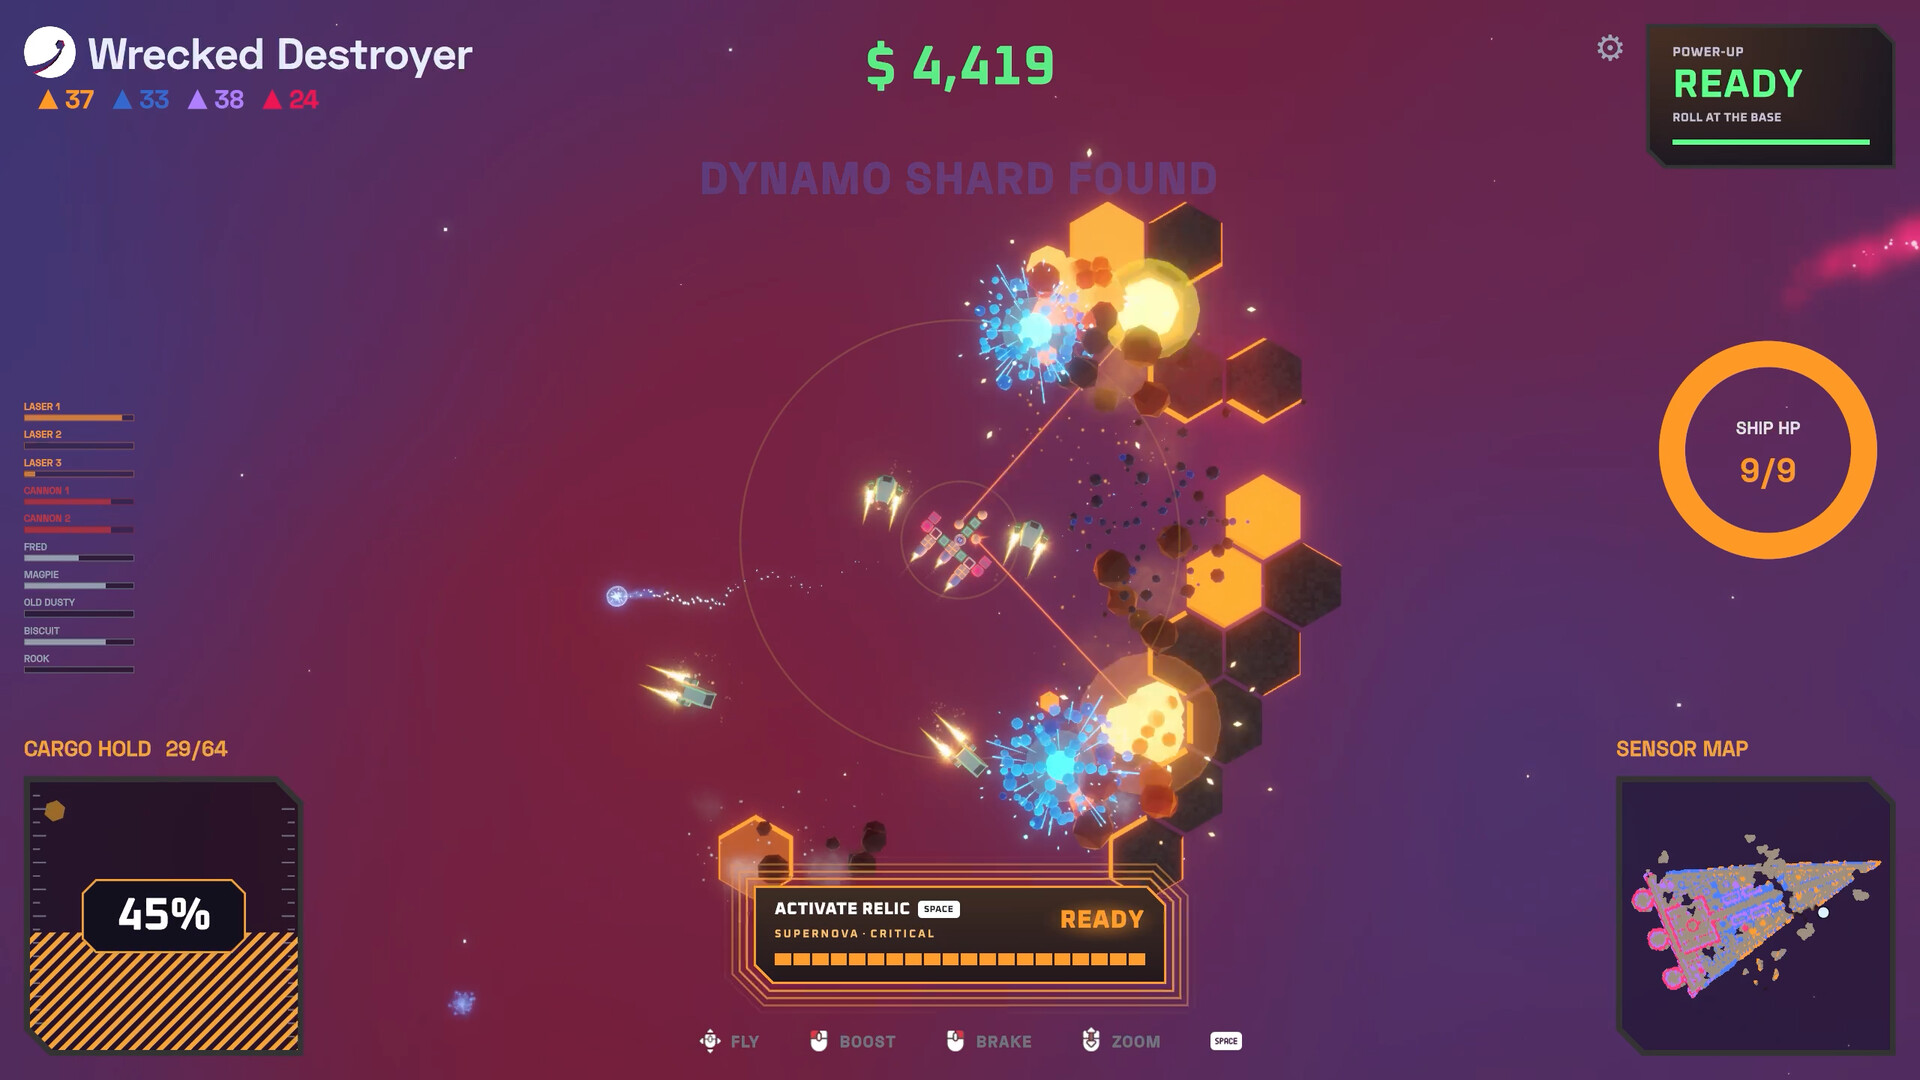
The Extractor is where Graveyard Orbit turns quiet demolition into shipyard power. You strip wrecks tile by tile, fill cargo, then process the haul so cash funds departments, belts, hull, and research. This guide explains how to think about ore value, why matching weapons to colored ore matters, how plain ore still pays the bills, and when conveyor/factory upgrades beat another gun. Cross-link to Ship Building when power or cargo is the real bottleneck, and to the Weapons Tier List Hub when choosing which tree should farm which colors.
Extractor in the core loop
- Mine a wreck or megastructure.
- Fill cargo with mixed tiles.
- Return and run the Extractor.
- Spend on the bottleneck that slowed the run.
- Repeat with better arcs and belts.
Skipping step 3 to stare at new weapon previews is how beginners stall. Cash first, fantasy second.
Colored ore versus plain ore
Colored ore rewards matching weapon trees. Community and design language highlight pairings such as gold with lasers and blue with dynamo-oriented tools. When you see a color band, swap focus to the matching hardpoints if they are powered and on-arc. Matching improves the quality of what the Extractor can squeeze from that haul.
Plain ore breaks with anything. Never freeze a run waiting for a perfect match if cargo space remains — strip plain tiles to keep the hold productive. A full bay of plain ore processed through upgraded belts often funds the department that unlocks better matching later.
Belts and factory lines
Conveyor and factory belt upgrades sit beside raw DPS in importance. Symptoms you need belts:
- Guns clear faces faster than you can process hauls.
- You return with full cargo but feel “poor” relative to structure size.
- You own multiple weapon walls but still cannot afford the next department.
Belts multiply Extractor throughput and value. Buy them when mining speed exceeds processing speed, not only when a tooltip looks shiny. Treat belts as part of the ship economy described in Ship Building.
Cargo sizing
Tiny cargo on large structures means constant ferry trips that interrupt flow. Oversized cargo on tiny wrecks means you delay Extractor feedback. Scale holds with contract size: early wrecks tolerate small bays; mid-layer megastructures want fewer, fuller trips; Overtime marathons demand serious capacity so you are not living in the load screen of your own making. See Overtime Mode for marathon pacing.
Spending priorities after a cash-in
Ask one question: what stopped the last clear?
- Weapons flickered → power.
- Too many trips → cargo or route discipline.
- Poor payout despite full holds → belts/Extractor upgrades or better color matching.
- Could not reach recessed tiles → department/weapon that covers the gap.
- Died to hazards → hull before vanity relics.
Only after the bottleneck dies should you fund luxury relics from Relics and Mods.
Practical Extractor habits
- Cash out on purpose when the hold is full instead of overflowing into wasted tiles.
- Note which colors dominated the haul and adjust next-run mounts.
- After a research mod that increases clear speed, revisit belts immediately.
- Keep a mental ledger: this haul buys power, next haul buys the department, third haul buys belts.
- Do not split cash across six shallow trees; the tier list exists so you can specialize.
Example early economy path
- Tutorial lasers clear soft wrecks.
- First Extractor piles buy power + small cargo.
- Second pile starts belt upgrades.
- Matched gold ore spikes fund the next laser or a complementary pulse/cannon mount.
- Mid structures introduce more colors → unlock the matching department instead of a random tree.
Late economy path
Late megastructures and Overtime flood you with volume. Drones and wide arcs increase tiles per minute; without belts and cargo, you create a processing traffic jam. Relics that accelerate mining should be paired with Extractor investment the same evening. Star runs punish leaving high-value colored ore unmined — plan faces so matching guns stay online when those bands appear.
Related tools and guides
- Controls — fatigue-free orbits between cash-ins.
- System Requirements — ensure large structures stay fluid while you focus on economy.
- Guides Hub — full walkthrough index.
- Official Links — Steam store and community hub for patch economy notes.
Master the Extractor and every wreck becomes a funding round for a better ship. Ignore it and even an S-tier laser wall is just expensive fireworks.
Frequently Asked Questions
Quick answers to common Graveyard Orbit questions.
What does the Extractor do?
It processes ore from your cargo into cash so you can buy shipyard parts, belts, departments, and research.
Should I always match colored ore?
Match when the right weapons are powered and on-arc. Otherwise keep stripping plain ore so the hold and belts stay productive.
When are conveyor belts worth buying?
When mining speed outpaces processing or payouts feel low despite full cargo — belts often beat another underpowered gun.
Does Overtime change Extractor priorities?
Yes. Longer contracts need more cargo and stronger belts so high tile-per-minute builds do not stall on processing.
Is there a redeem code for free ore?
No. Graveyard Orbit is single-player without wiki redeem codes — progression comes from salvage and upgrades.